
How to insert horizontal and vertical lines in Google Docs
This tutorial is about the steps required to insert horizontal line and vertical line in Google Docs.
Insert horizontal line
Google Docs users can insert a horizontal line using “Horizontal line” menu option under Insert menu.

Vertical Line
Google Docs users can use any of the below methods to enter vertical lines.
- Drawing option - Use the Drawing option under Insert menu. Then select Line dropdown option and pick Line option.
You can also format the line using the different formatting options available as part of the Drawing screen. After completing the formatting, select Save and Apply option to insert the vertical line in Google Docs.
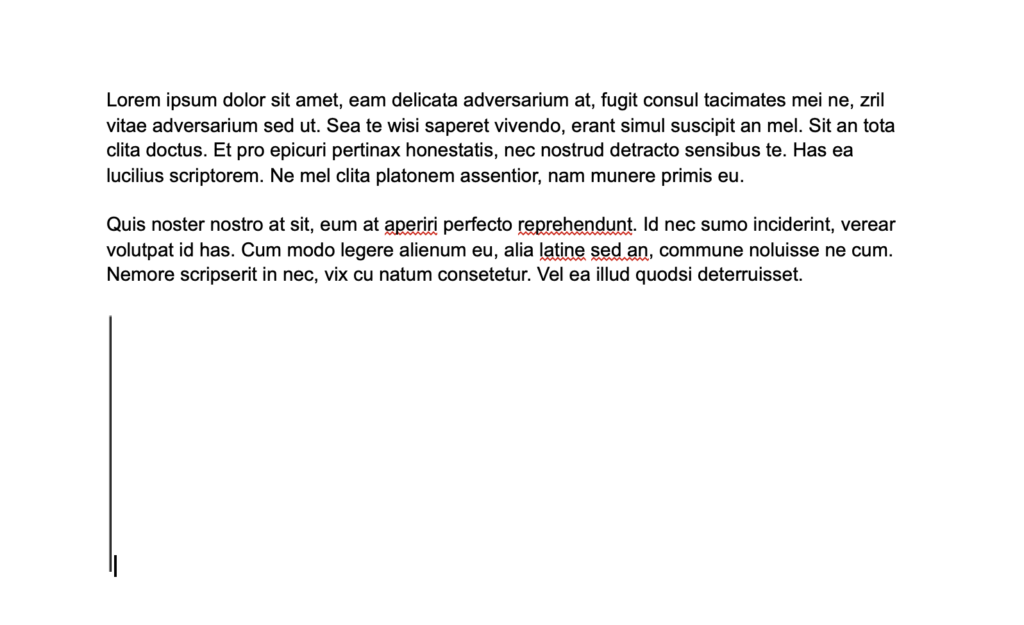
2. If. you want to add a vertical line before and after a paragraph then you can use the Paragraph Styles menu under Format menu.
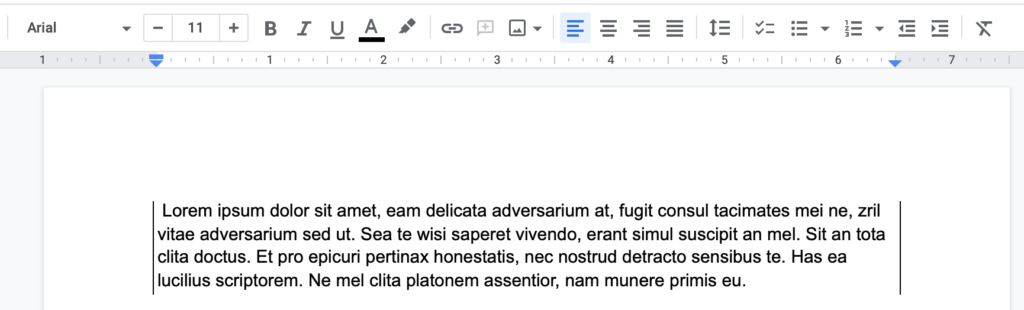
Click the Format menu, select Paragraph Styles followed by Borders and shading option. Then select the Left border and Right border position to insert borders before and after the paragraph
You can remove the inserted borders or vertical line using the Reset option.
Need iOS Help?
I help developers with:
- Bug fixes & debugging
- App Store rejections
- Code review & mentoring
- Claude Code training for iOS
10+ years iOS • 10+ published apps • 11,000+ students trained