
payworks mPOS helps app developers to integrate their App with card reader. In this tutorial, we will see a sample app that integrates payworks mPOS using Swift.
Download the source code from github
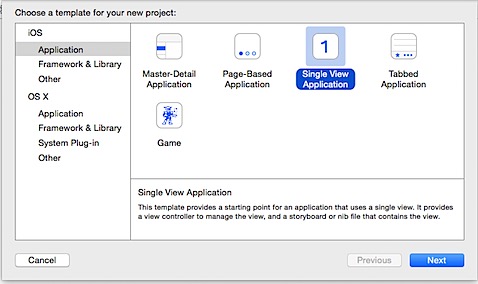
Select New Project and choose Single View Application from the template.

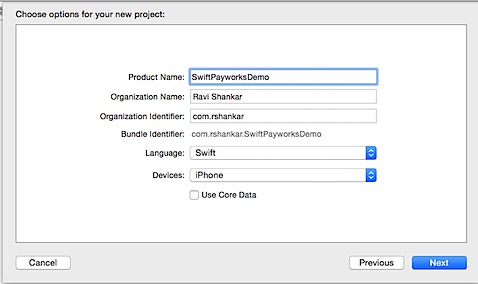
In the Project Options window, provide a product name and make sure to select Language as Swift. Click Next and Save the project.

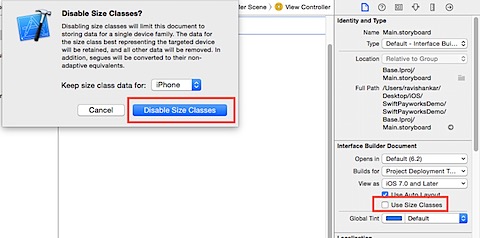
In the Project Navigator, select Main.storyboard and unmark check box “Use Size Classes” in the File Inspector. Then click Disable Size Classes button as this app is only designed for iPhone

UI Design
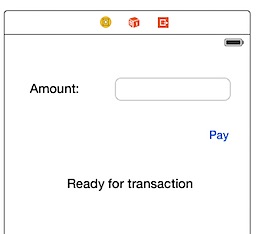
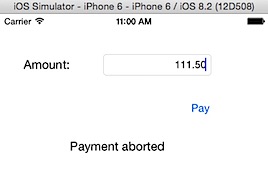
Design the user interface as shown below.
- Label to shown caption as Amount
- TextField for entering the amount
- Button to Charge Amount.
- Label to display the status message.

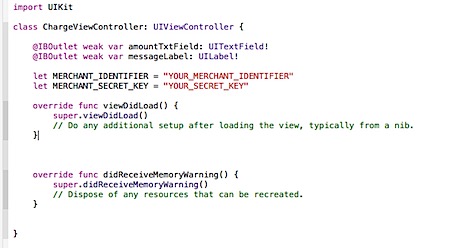
Just to reflect the purpose of this little app, let us rename the ViewController.Swift to ChargeViewController.swift. Make the corresponding changes to Class name as well in Identity Inspector.
Integrate mPOS SDK
We are going to add mPOS SDK to this project using CocoaPods by following the instructions here.
Close your Xcode project, launch Terminal window and and navigate to project folder.


Create a new Podfile with the following statements


Doing a pod install should download the mPOS SDK’s to your project folder.
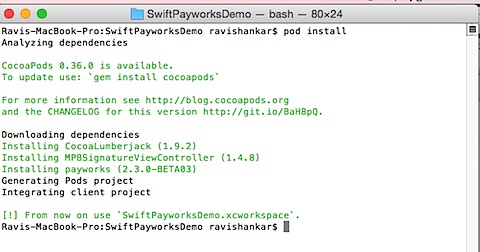

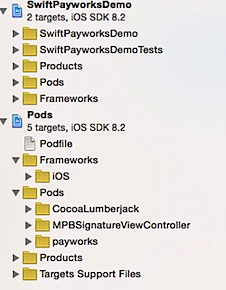
Now navigate to your project folder and open the file with extension as .xcworkspace. The Pods folder in the project navigator should contain the mPOS framework.

Objective-C Bridging
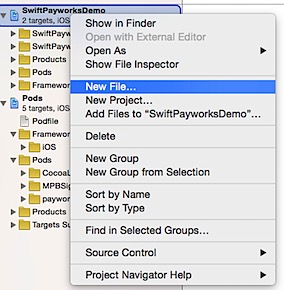
We need to create a bridge file to call the objective-c related framework files in our Swift app. The easiest way to do this is to create new Objective-C file in your project.
Right click on your project folder, select New File.

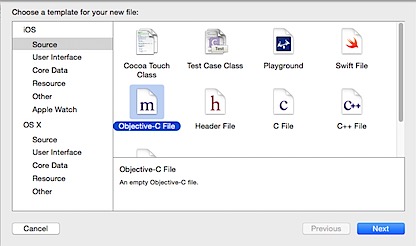
In the Choose a template screen, select Objective-C and click Next.

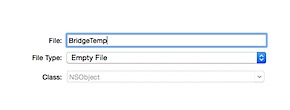
Provide a name for the Objective-C file and save the file.

Now you will prompted whether you would like to configure an Objective-C bridging header. Click Yes to create the bridging header file.


As the header file is created, we do not need the temp objective-c file, you can delete this file.
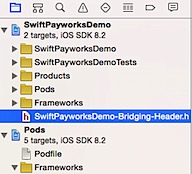

Navigate to Bridging-Header file in Project navigator and the following lines.
@import Foundation;
#import
Now you can make sure every thing works fine by doing a build. Also make sure to add the additional steps as mentioned in the instruction page for Miura Readers. Navigate to info.plist and add supported external accessory protocols and Required background modes keys.

mPOS integration
Create two IBOutlets, one for TextField and another for Message Label.

@IBOutlet weak var amountTxtField: UITextField!
@IBOutlet weak var messageLabel: UILabel!
Use the connection inspector to connect the IBOutlets with the controls.

In order to connect with mPOS SDK, you need to register and get the merchant credentials, You can do this by registering here. After receiving the credentials create two constants to hold the identifier and secret key.
let MERCHANT_IDENTIFIER = “YOUR_MERCHANT_IDENTIFIER”
let MERCHANT_SECRET_KEY = “YOUR_SECRET_KEY”
Now add the following IBAction method to ChangeViewController.swift and connect the IBAction with the button.

@IBAction func chargeCard(sender: UIButton) {
let amount:NSDecimalNumber = NSDecimalNumber(string: self.amountTxtField.text)
let transactionProvider:MPTransactionProvider = MPMpos .transactionProviderForMode( MPProviderMode.MOCK, merchantIdentifier: MERCHANT_IDENTIFIER, merchantSecretKey: MERCHANT_SECRET_KEY)
let template: MPTransactionTemplate = transactionProvider.chargeTransactionTemplateWithAmount(amount, currency: MPCurrency.EUR, subject: “subject”, customIdentifier: “customIdentifier”)
let paymentProcess:MPPaymentProcess = transactionProvider.startPaymentWithTemplate(template, usingAccessory: MPAccessoryFamily.Mock, registered: { (let paymentProcess:MPPaymentProcess!, let transaction:MPTransaction!) -> Void in
}, statusChanged: { (let paymentProcess:MPPaymentProcess!, let transaction:MPTransaction!, let paymentProcessDetails:MPPaymentProcessDetails!) -> Void in
self.messageLabel.text = self.formatMessage(paymentProcessDetails.information)
}, actionRequired: { (let paymentProcess:MPPaymentProcess!, let transaction:MPTransaction!, let transactionAction:MPTransactionAction, let transactionActionSupport:MPTransactionActionSupport!) -> Void in
}) {(let paymentProcess:MPPaymentProcess!, let transaction:MPTransaction!, let paymentProcessDetails:MPPaymentProcessDetails!) -> Void in
self.messageLabel.text = self.formatMessage(paymentProcessDetails.information)
}
}
func formatMessage(information:AnyObject) -> String {
let temp = (information[0] as NSString) + “\n”
return temp + (information[1] as NSString)
}
Since I don’t have a real reader to try this demo, I have used Mock mode for the transaction provider and payment process
let transactionProvider:MPTransactionProvider = MPMpos .transactionProviderForMode( MPProviderMode.MOCK, merchantIdentifier: MERCHANT_IDENTIFIER, merchantSecretKey: MERCHANT_SECRET_KEY)
let paymentProcess:MPPaymentProcess = transactionProvider.startPaymentWithTemplate(template, usingAccessory: MPAccessoryFamily.Mock, registered:
Now you are good to try this demo by entering an amount and tap the Pay button. The trisection status will be displayed in the message label.
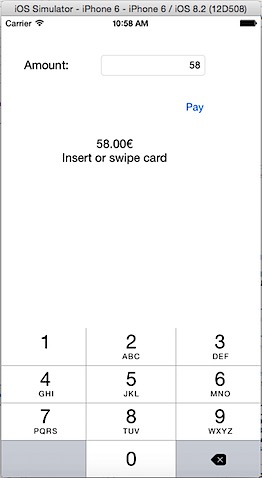
You can also test your solution by entering different amount as mentioned in the test page.
Download the source code from github

